Exporting a post title, post URL, categories, and tags to the CSV file. We can add more fields to it. The output will be something like the below screenshot.

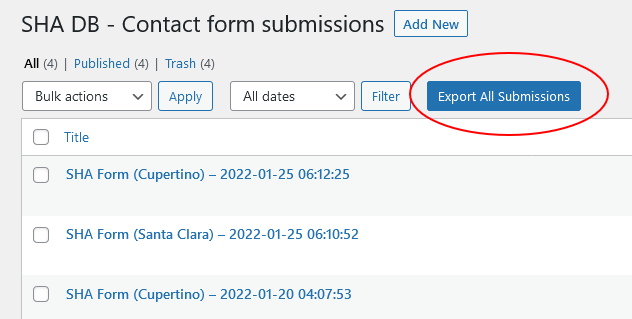
Add Custom Button on the Post Listing
To generate the CSV, we first need to give a button on the backend post listing. Additionally, we will write code that generates a CSV on the click of this button.
Open your functions.php file and place the below code in it.
function admin_post_list_add_export_button( $which ) {
    global $typenow;

    if ( 'post' === $typenow && 'top' === $which ) {
        ?>
        <input type="submit" name="export_all_posts" class="button button-primary" value="<?php _e('Export All Posts'); ?>" />
        <?php
    }
}

add_action( 'manage_posts_extra_tablenav', 'admin_post_list_add_export_button', 20, 1 );
Actual Code for Exporting Posts to CSV
At this stage, you are ready with your custom button which should generate the CSV. Now, let’s add a code that generates the CSV on the click of a button and send it to the browser for downloading it.
Add the below code in the functions.php file.
function func_export_all_posts() {
    if(isset($_GET['export_all_posts'])) {
        $arg = array(
            'post_type' => 'post',
            'post_status' => 'publish',
            'posts_per_page' => -1,
        );

        global $post;
        $arr_post = get_posts($arg);
        if ($arr_post) {

            header('Content-type: text/csv');
            header('Content-Disposition: attachment; filename="wp-posts.csv"');
            header('Pragma: no-cache');
            header('Expires: 0');

            $file = fopen('php://output', 'w');

            fputcsv($file, array('Post Title', 'URL', 'Categories', 'Tags'));

            foreach ($arr_post as $post) {
                setup_postdata($post);

                $categories = get_the_category();
                $cats = array();
                if (!empty($categories)) {
                    foreach ( $categories as $category ) {
                        $cats[] = $category->name;
                    }
                }

                $post_tags = get_the_tags();
                $tags = array();
                if (!empty($post_tags)) {
                    foreach ($post_tags as $tag) {
                        $tags[] = $tag->name;
                    }
                }

                fputcsv($file, array(get_the_title(), get_the_permalink(), implode(",", $cats), implode(",", $tags)));
            }

            exit();
        }
    }
}

add_action( 'init', 'func_export_all_posts' );